
Project 1: Desks and History Lessons
This post covers what I have decided was my first attempt at "real woodworking." I constructed the desk using dimensional 2x4 and 2x6 yellow pine. I had a clear idea for why I made this project first.

The Agenda
History Lesson
What is “Real Woodworking?”
The Desk, or, A Flat Surface Inspired by Pinterest
Materials
Process
Reflection and Lessons Learned
1. History Lesson
Before moving to Alabama for school I decided to sell nearly every piece of furniture I owned and build new pieces when I got there. I had never built furniture before. I had a 10yr old table saw and a 9yr old miter saw from Harbor Freight. I sold both and bought a Ridgid miter saw, the first good tool I ever bought. Sitting in my empty house in Alabama I faced the decision of what to build first.
When teaching U.S. History (my day job is a high school teacher) one of my favorite subjects to cover was the settlement of Jamestown in 1607 and the subsequent disasters faced by the colonists. Keep in mind that the Spanish conquest of the Americas yielded immense profit; from Aztec gold to Andean silver and a captive trade market. More professional historians than myself can outline how much profit drove colonialism in England, but I have to imagine that the individuals who actually signed up to go to North America expected to get rich. The colonists who arrived in Jamestown in 1607, if indeed they were looking for riches, were sorely disappointed. Few if any projects for long term settlement were established in the months following arrival in Jamestown.
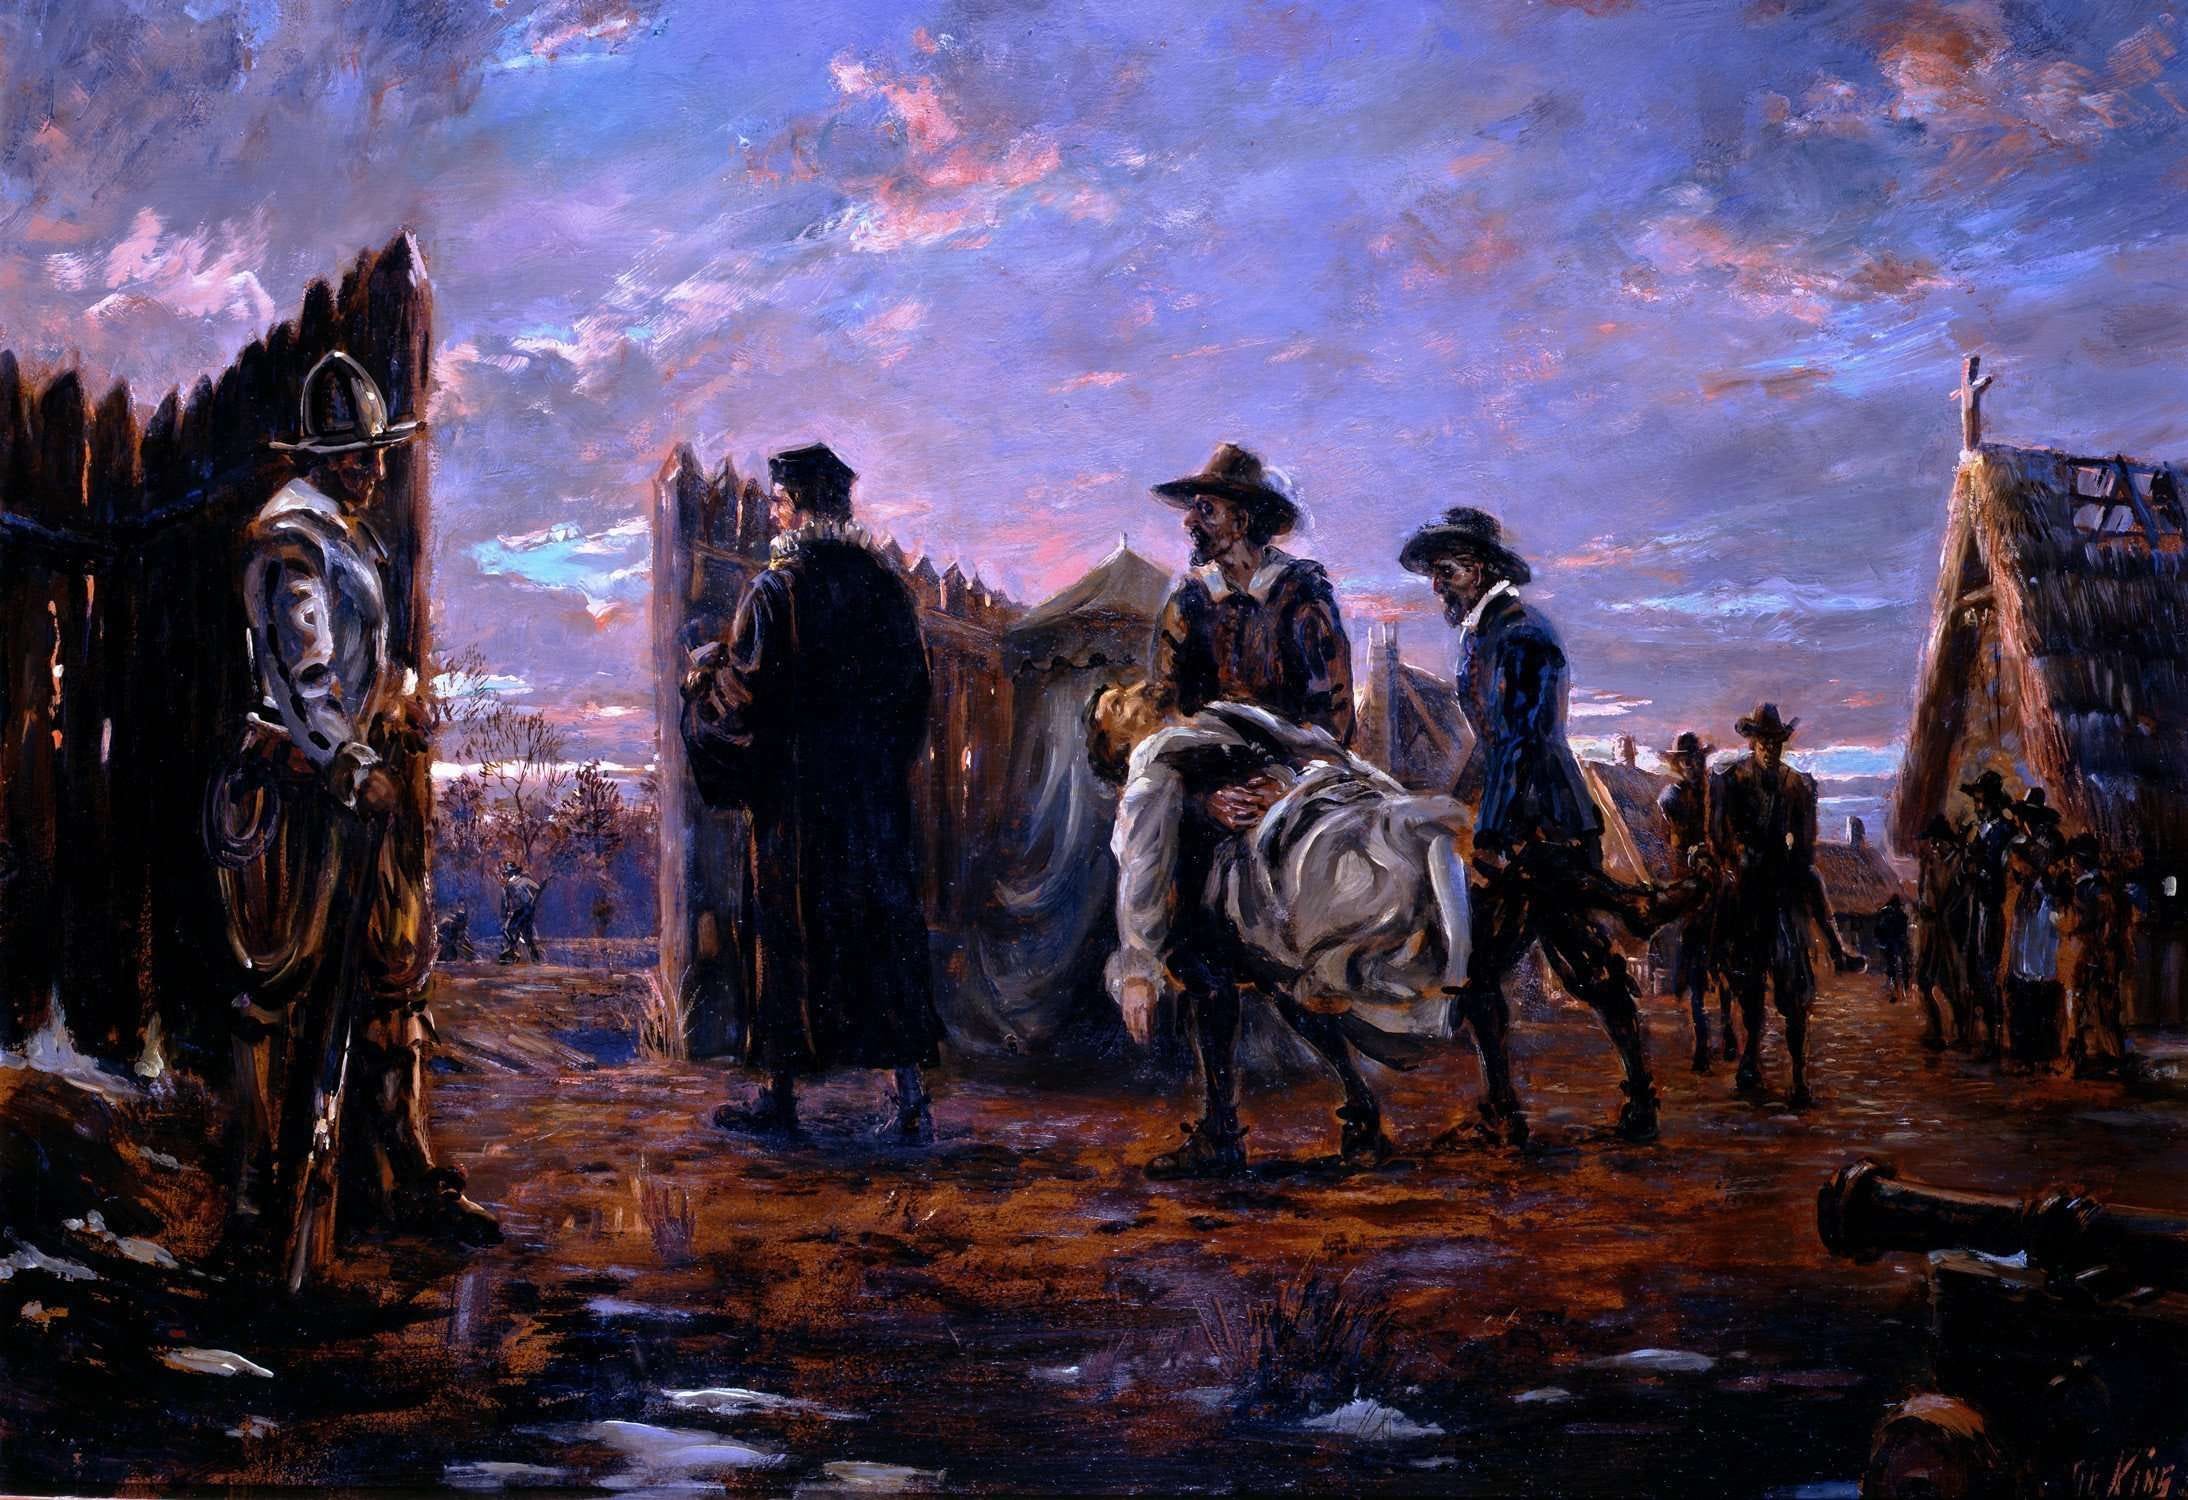
Disaster soon followed. Poor planning and a lack of disciplined construction led to outbreaks of dysentery amongst other diseases in the swampy area of Jamestown. Of the original 150 colonists, 38 survived the first winter. At this point in the story John Smith enters, with the motto of “he that will not work will not eat.” The story of Jamestown continues, with success and failure in equal portions, until the discovery of “Brown Gold” tobacco crops and an economically viable path forward for the colony. These stories are well worth investing some more time into learning, however for my purposes I have what I need to continue with the story of the desk.
The lessons of history are sometimes thought of as large, groundbreaking ideas that must be grasped by those in the halls of power in order to successfully pilot a nation through troubled times. For me, I look at Jamestown and the struggles faced by the colonists and I think “what should they have done first?”1 That’s the same question I asked myself in Alabama. I was there to be a student and students need desks.
Was this the right choice? Probably not. But I decided that my first project would be a desk and that I would make it simple and functional and I wouldn’t let the fear of messing up stop me from making it.
2. What is Real Woodworking?
I think real woodworking is done by someone who considers themselves a woodworker, regardless of their level of skill or the tools that they possess. I’ve identified three things that guide my thoughts on what woodworking is and what makes me a woodworker. These will probably change over time, but for now I’ll share them here.
I start a project with a clear goal in mind. This doesn’t mean I create detailed sketches/plans, draft the project in CAD, or buy a plan online. I simply know what I want to build and I use that idea to determine what to build and when the project is finished. At this early stage, I’m definitely a function over form woodworker.
I know my tools, their proper function, and I take care of them. I rip cut with a table saw and I cross cut with a miter saw. I flatten and joint boards with a Stanley No. 5 plane and treat end grain with a low angle block plane, etc. etc. When I’m done using my tools I sweep them off and vacuum out any dust. I apply paste wax to my power tools every couple weeks and I clean and oil my planes each use.
I constantly look for ways to learn more about the craft and improve. I read about the science of lumber, I watch videos about setting up tools for certain operations, and I consider things I wouldn’t have before I thought of myself as a woodworker. For example, if I use two different types of wood how will they change with seasonal movement due to moisture and will it warp/ruin my project?
Looking at these three elements objectively they could apply to a beginner with a chop saw and a Kreg jig, which is exactly where the story of this desk begins.
3. The Desk, or, A Flat Surface Inspired by Pinterest
I don’t know about other new woodworkers, but when I started making furniture I didn’t have a form or a style that I would consistently go to. I searched something like “DIY Desk” on Pinterest and then scrolled for a while, saving pictures of desks that I liked. Once I had about five or ten pictures I would stop scrolling and then compare and choose which one I liked the best. This early in my furniture making game, I think the decision of style was less about what I really liked and more about: 1) could I buy all the materials at Lowes or Home Depot? 2) How easy would it be to make this project with the tools I had? 3) Could I finish this project in a day or two?
I chose a style that was made of easy to source materials, that didn’t require complex joinery or a lot of skill, and that I was confident I could knock together in a couple days. I don’t regret the style I eventually chose, but a year after I made the desk it looks clunky, unfinished, and raw to my eye. Part of that is due to how I made it, which I’ll talk about in the process section below.
Materials
Desktop, 2 x 2x6x8 (around $10)
Legs, 3 x 2x4x8 (around $12)
Stain, Minwax Dark Walnut Quart ($15)*
Paint, matte white gallon, cheapest they had*
Screws, Kreg 8x2 Coarse Thread fasteners ($15-20 for 250ct)*
Total price with pro-rated costs for partially used materials: $35 2
Process
To go back and write this in a series of steps suggests thats I had a project plan when I started. I assure you, no such plan existed. I knew that I would assemble the frame and top separately so I could apply the stain to the top and the paint to the bottom before I connected them. I would measure out the materials as I went ensuring that everything was the right size (the right size meant using the wood I had and not having to go back to Lowe’s). But, for the purpose of organization I’ll outline the process in steps here so it is easier to follow.
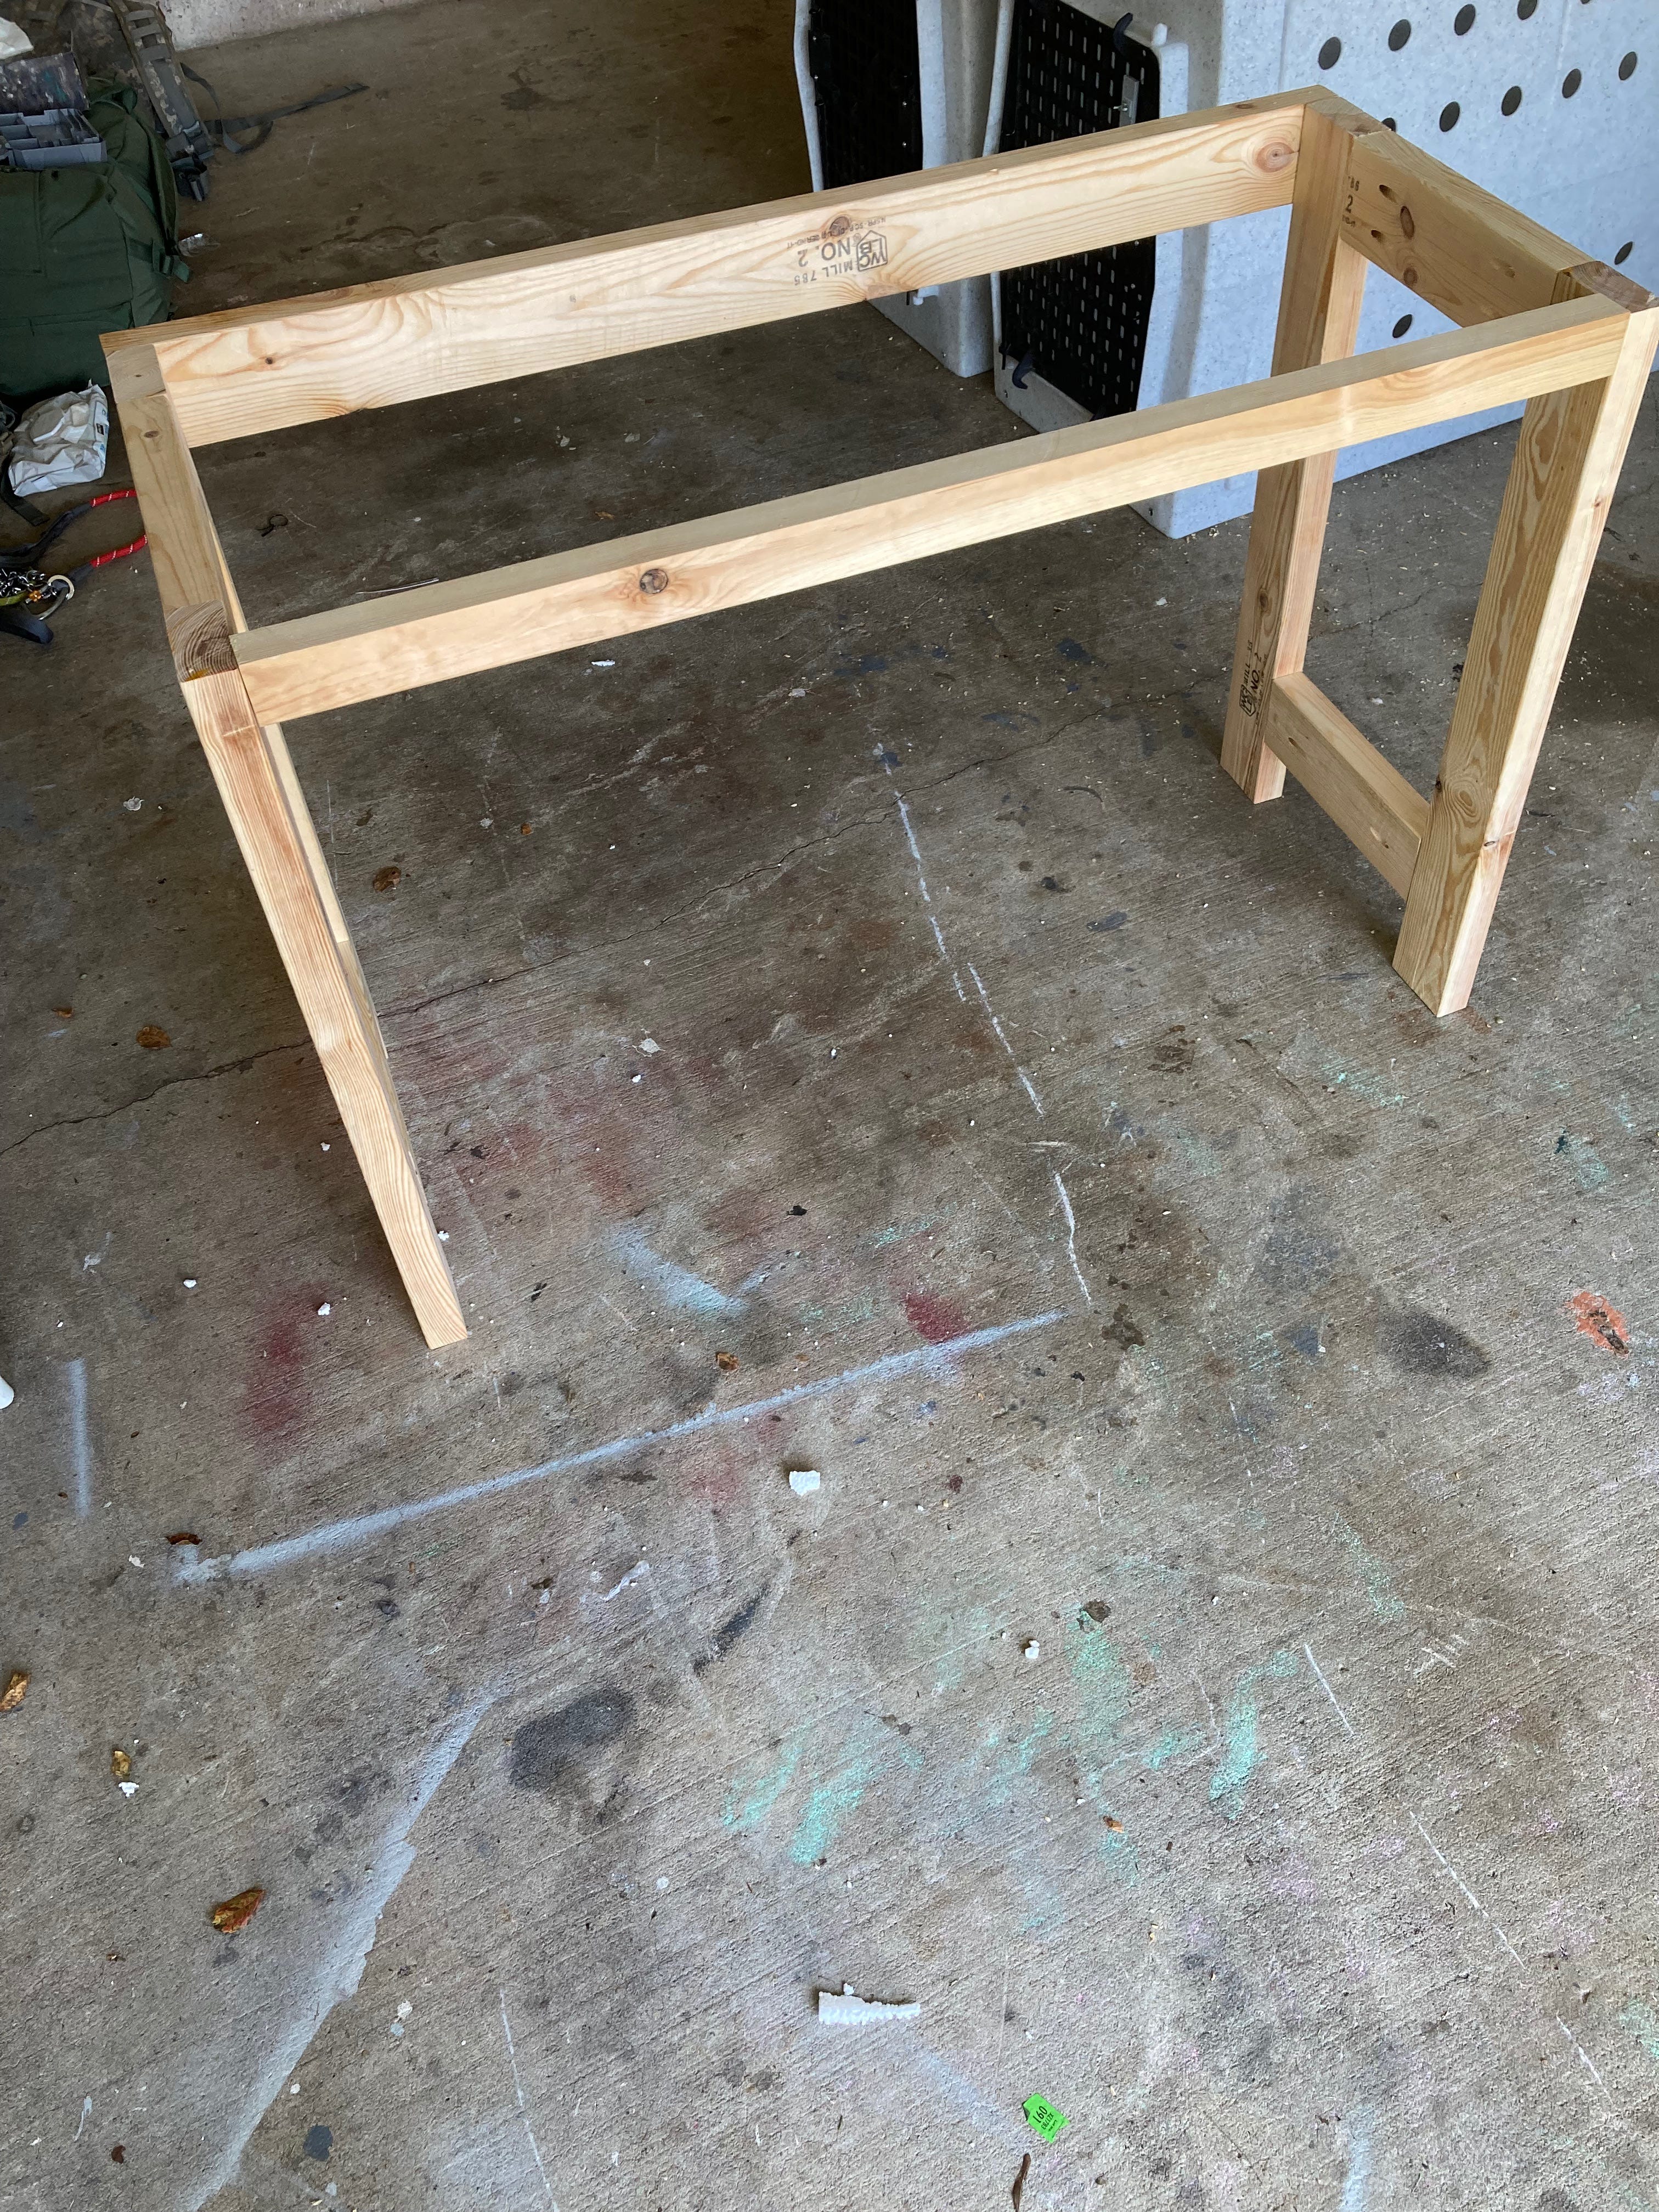
Step 1: Cutting The Legs and Connectors (later learned these are called stretchers)
I cut all the pieces with 90 degree angles first. The leg height is 29 1/2 inches. I have no memory of why I chose this height; I suppose it could be so that with the top attached it would be 30in tall. Why 30in tall? You’re guess is as good as mine.
The stretchers between the legs on the same side are 12in wide. None of the dimensional lumber was prepped in any way other than sanding it with 80 and 120 grit sandpaper. That said the legs are still 3 1/2 inches wide so with the stretchers one side of the base is 19in wide.
The stretchers along the back are 45in long and overlap the legs. The single stretcher on the front sits inside the legs and is 42in long.
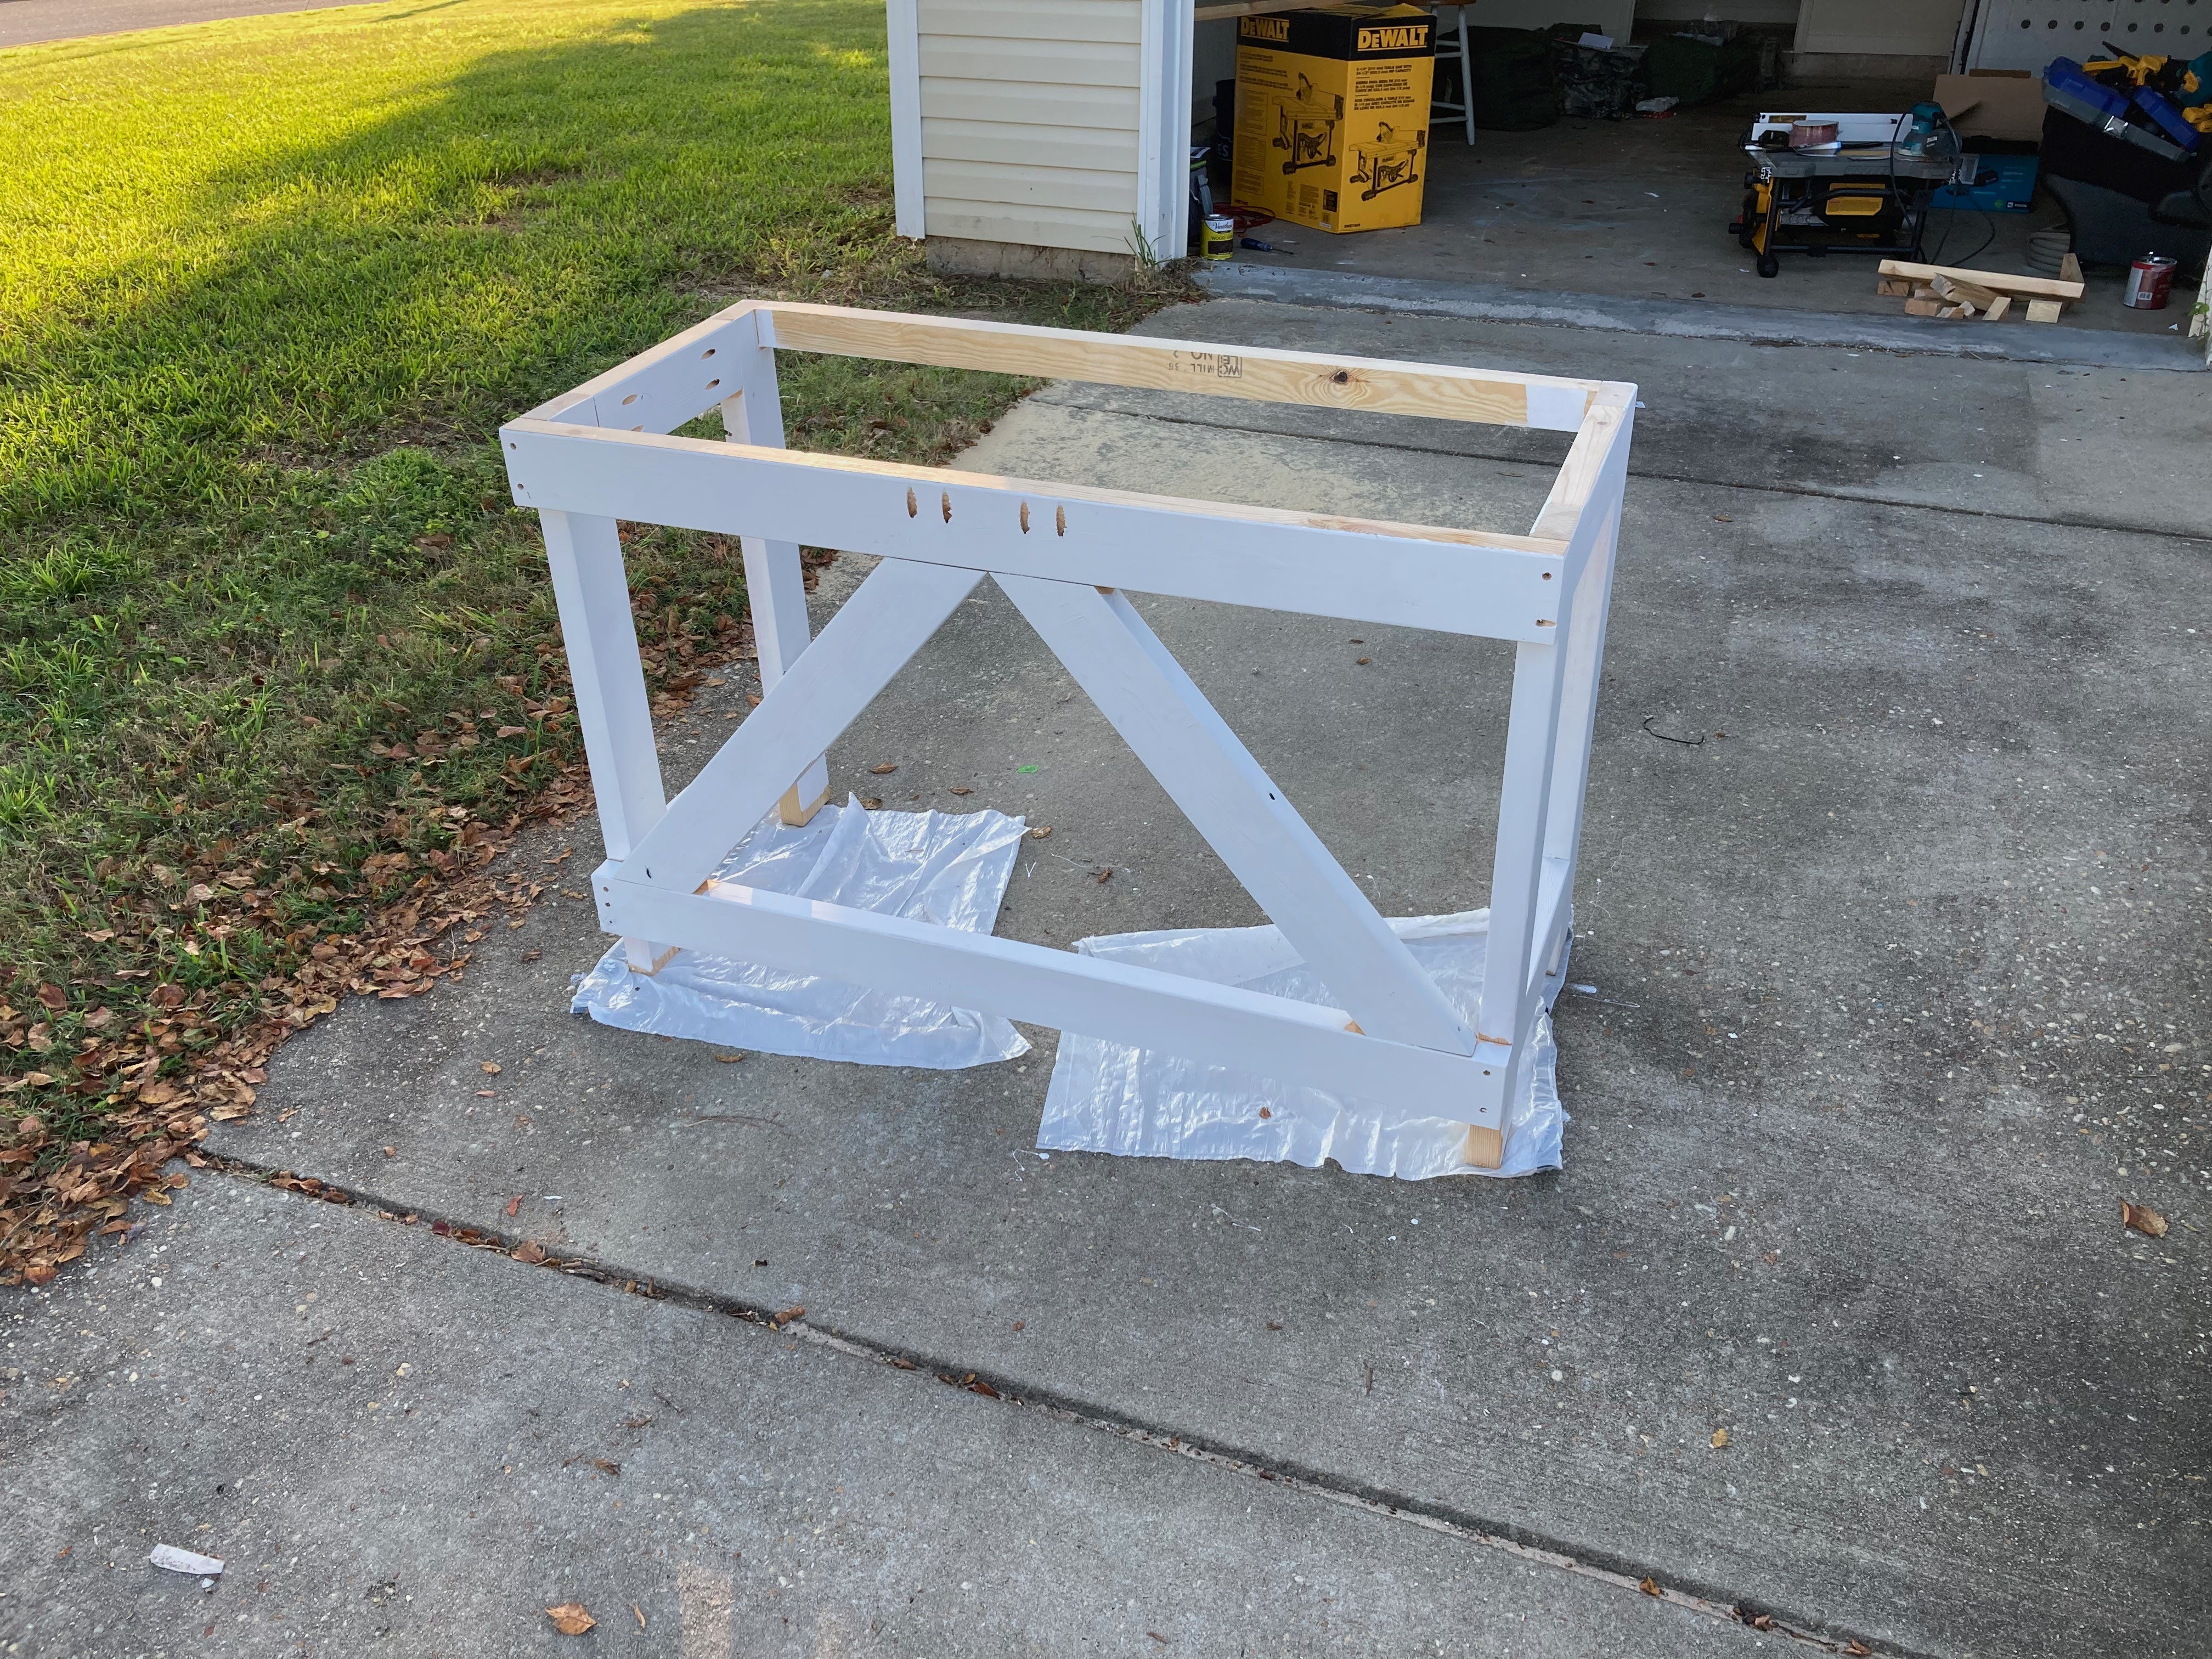
I believe that at some point I purged the memory of cutting the chevron pieces (the inverted ‘V’ along the back). The angles weren’t difficult with a miter saw, but getting the right angle to have a good fit proved to be a chore. I also didn’t have any clamps to keep the pieces in place and mark the next cut. In short, this part sucked and doesn’t really add anything but aesthetics to the desk.
The desk top is half the length of the 2x6x8s and comes in just under 48in. When set next to one another they are 22in wide.
Step 2: Pocket Screws for Frame and Top
This was my first project using pocket screws and I thought they were the greatest thing ever. That said, they are a good tool. I’ve since come to recognize that they aren’t a substitute for poor joinery and worse design. The Kreg Jig is easy to use and pretty self-explanatory.
I attached the jig and screwed two holes separated by an inch or so. Two screws stopped the pieces from rotating. Not a huge problem if you use glue and then only one pocket screw, but I didn’t use glue.
The stretchers along the back use traditional screws and drill directly into the legs. I did this because I figured no one would see the screw heads in the back.
Finally, I used the Kreg jig to drill holes in all the 2x6 boards before I started putting them together. I put a pair of pocket screws separated by an inch and facing towards one another. I did this roughly every 12in along the boards.
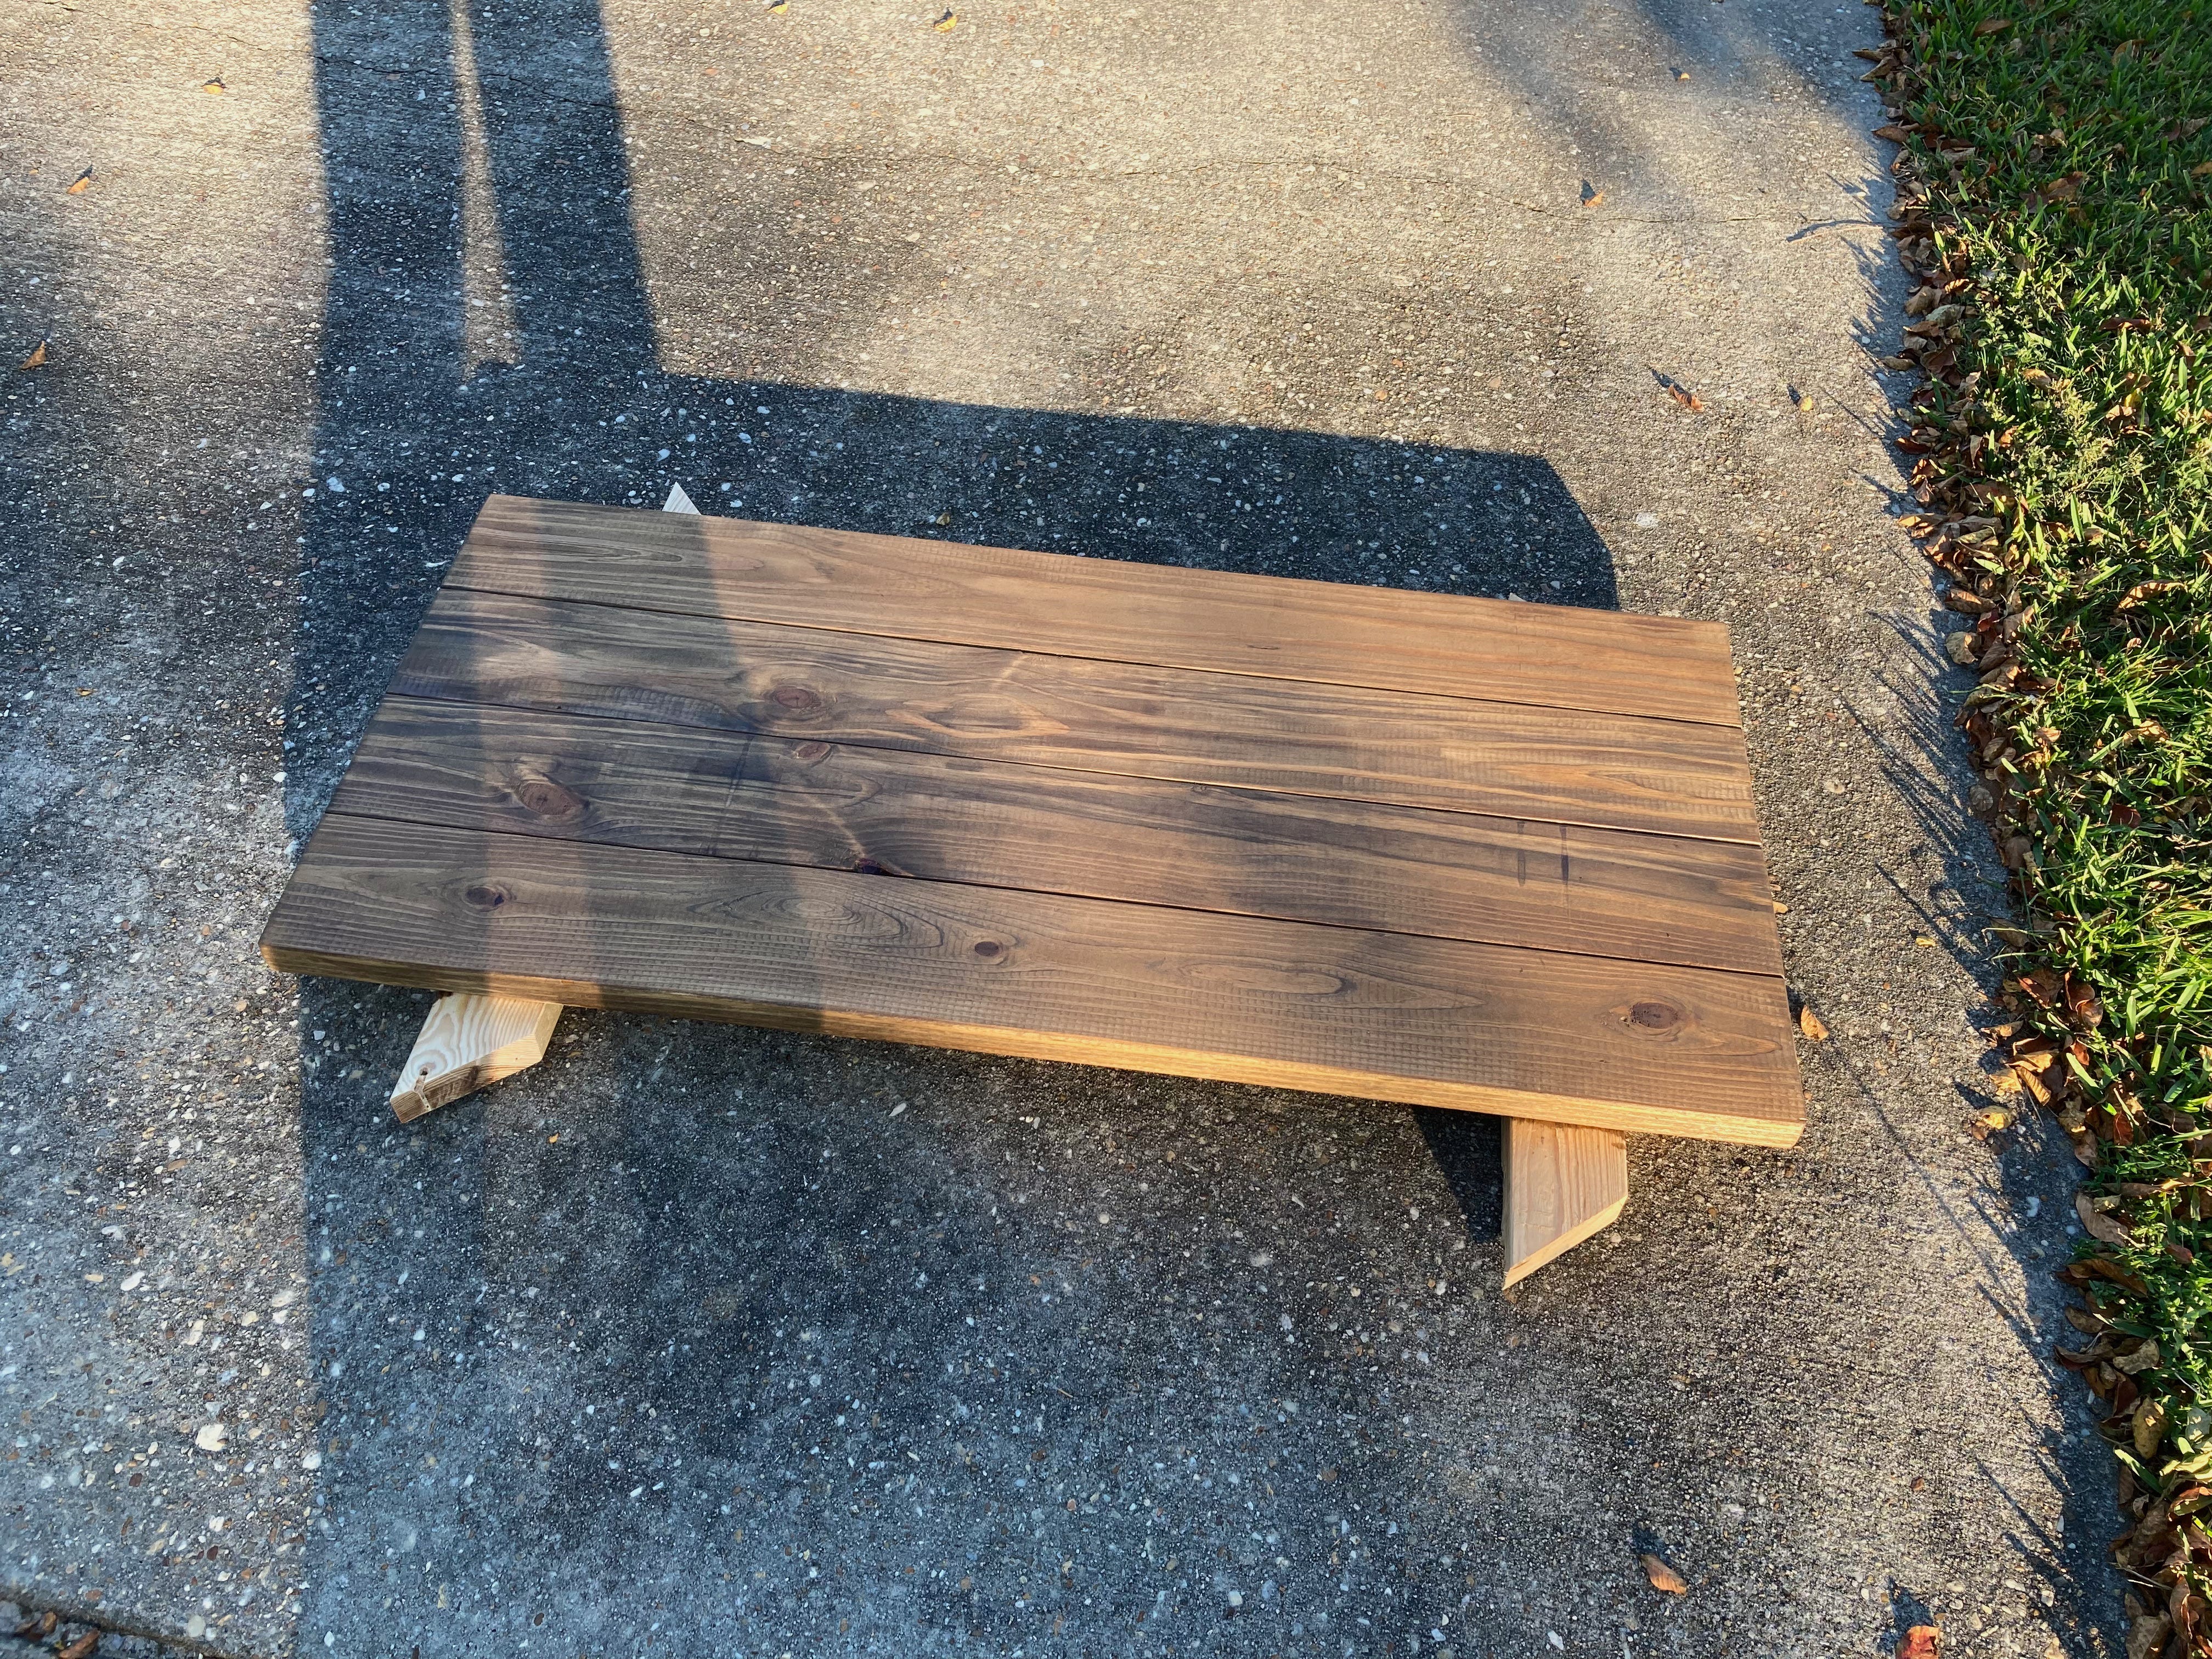
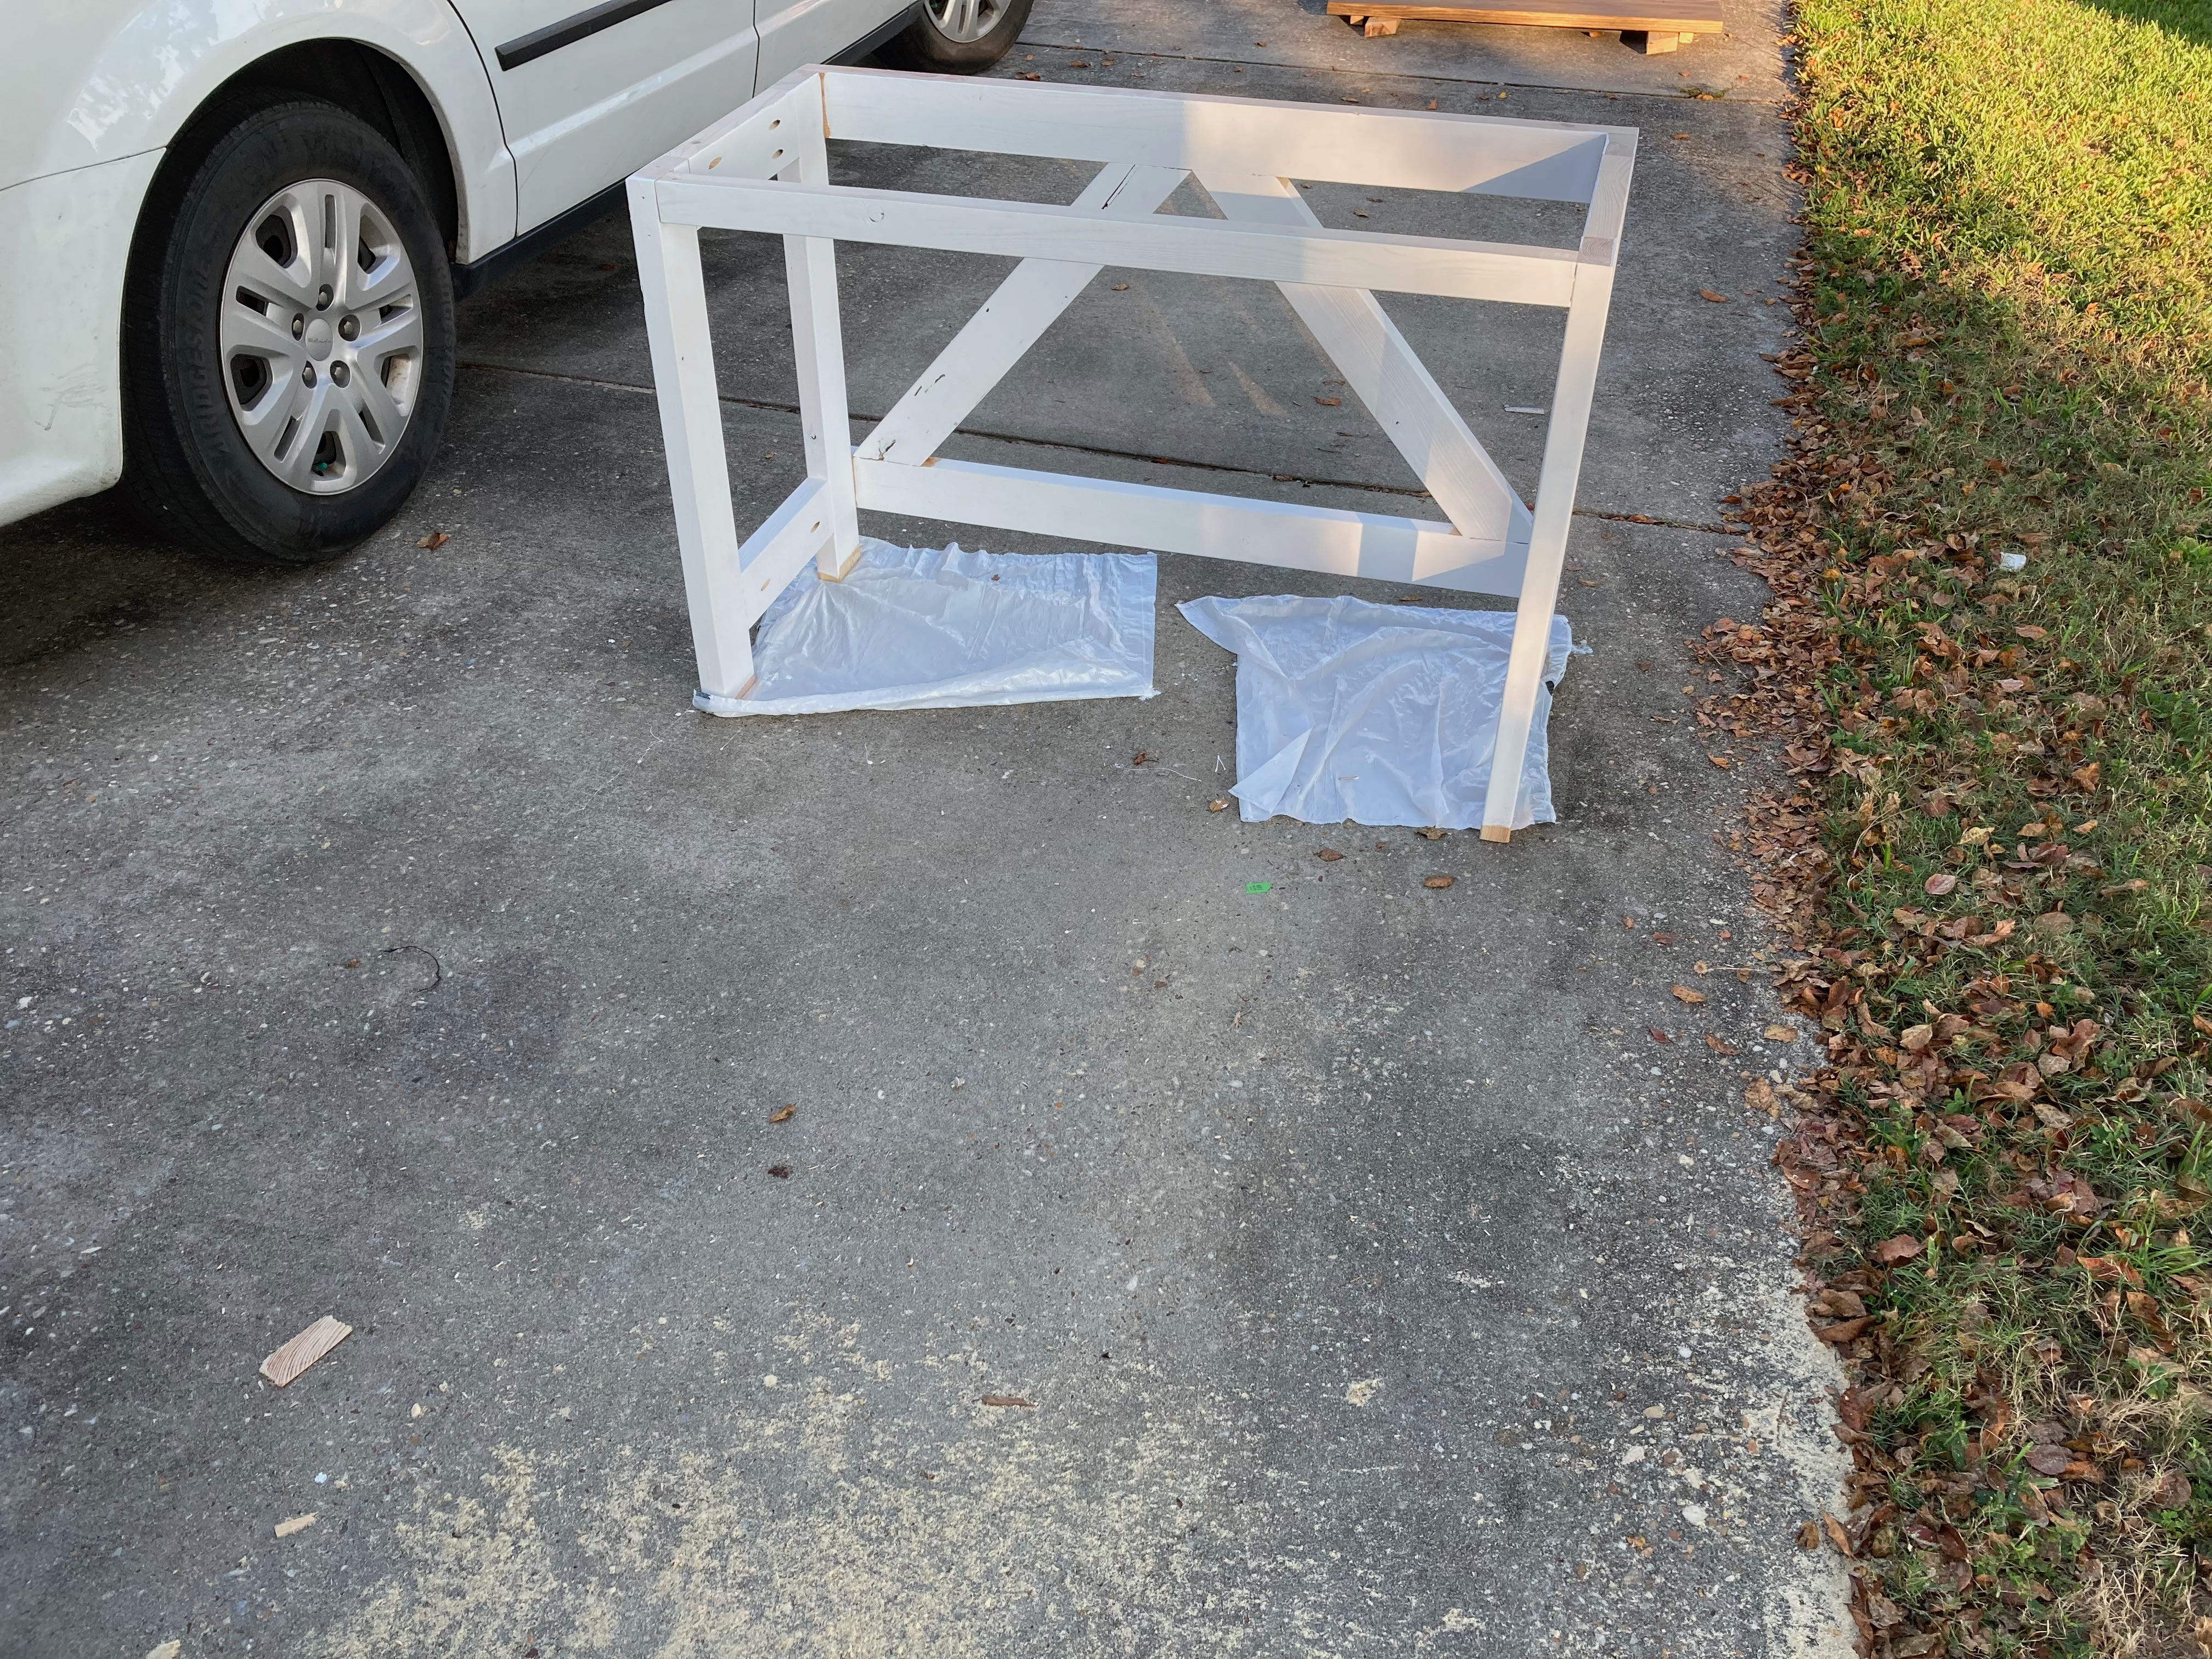
Step 5: Stain and Paint
I don’t know if this step really needs explanation. I use a sponge to apply stain so I don’t use too much and I used a 3in roller for the white paint. I didn’t stain the bottom of the desktop. I set some trash bags on the driveway to avoid leaving marks on a rented property.
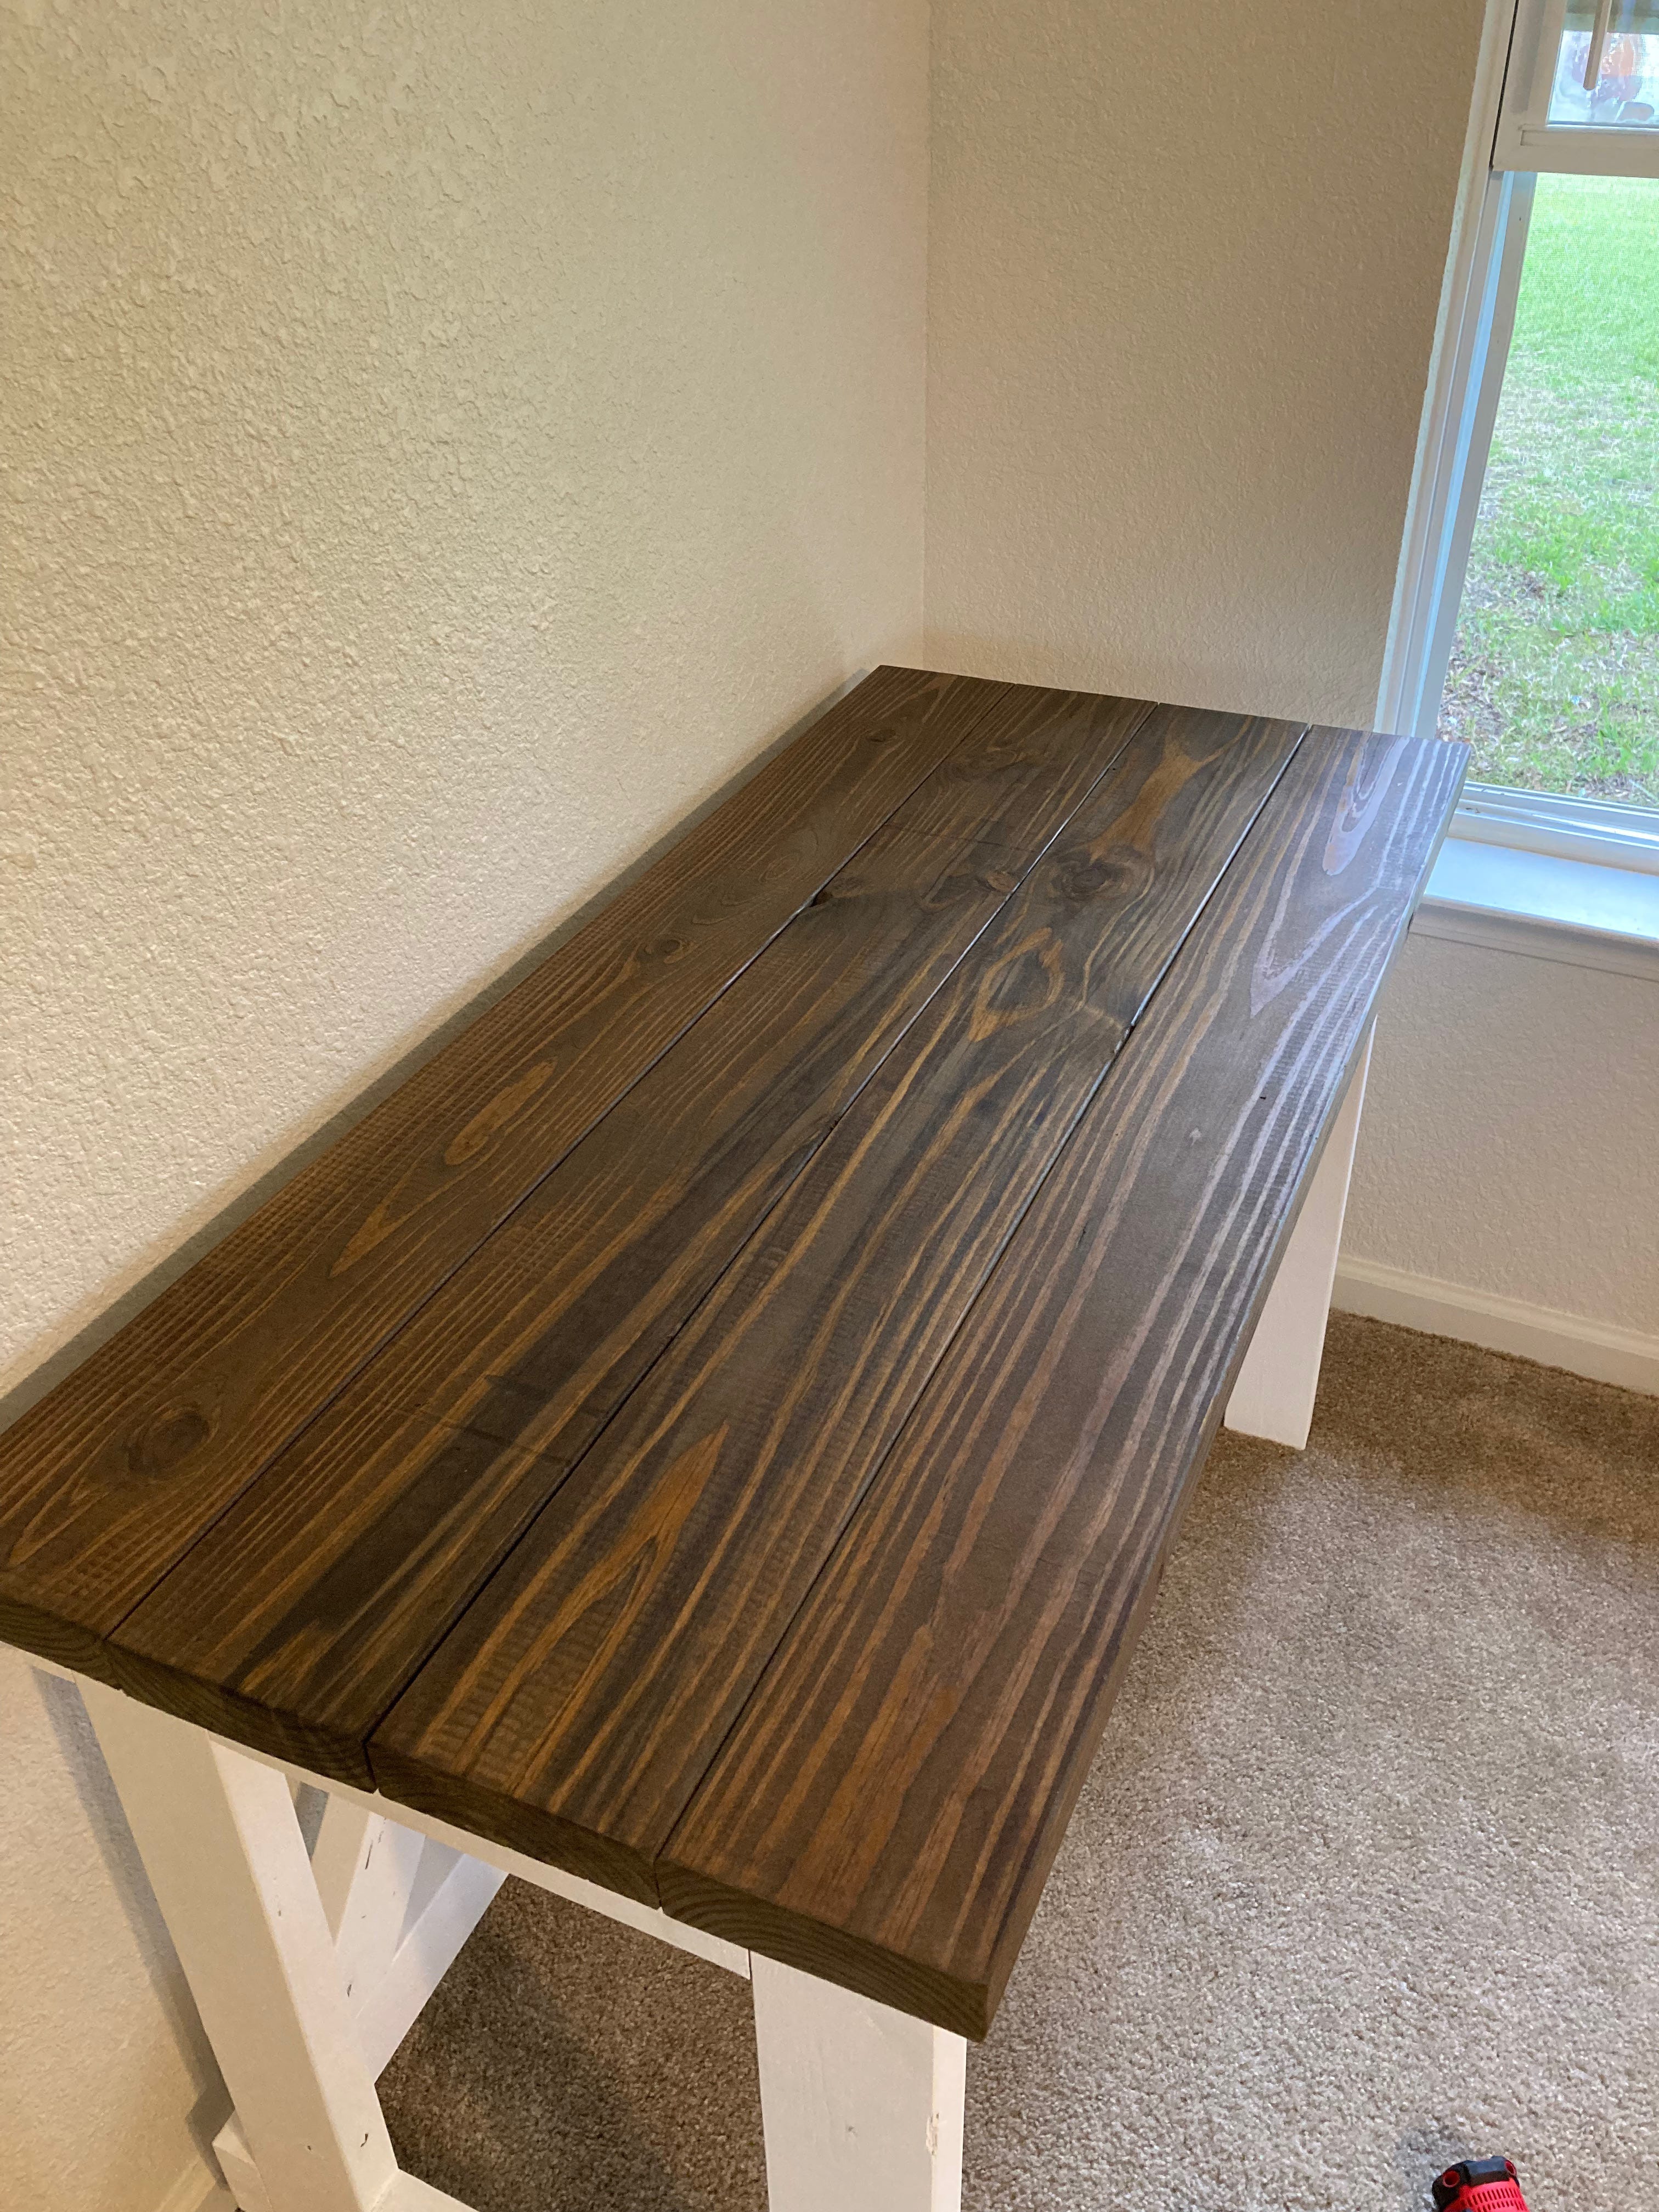
Step 6: Final Assembly
After waiting for the paint to dry, I used shorter pocket screws to attach the top to the base so the ends didn’t break out through the desktop. I placed the screws in six inch intervals along the legs and the stretchers.
4. Reflection and Lessons Learned
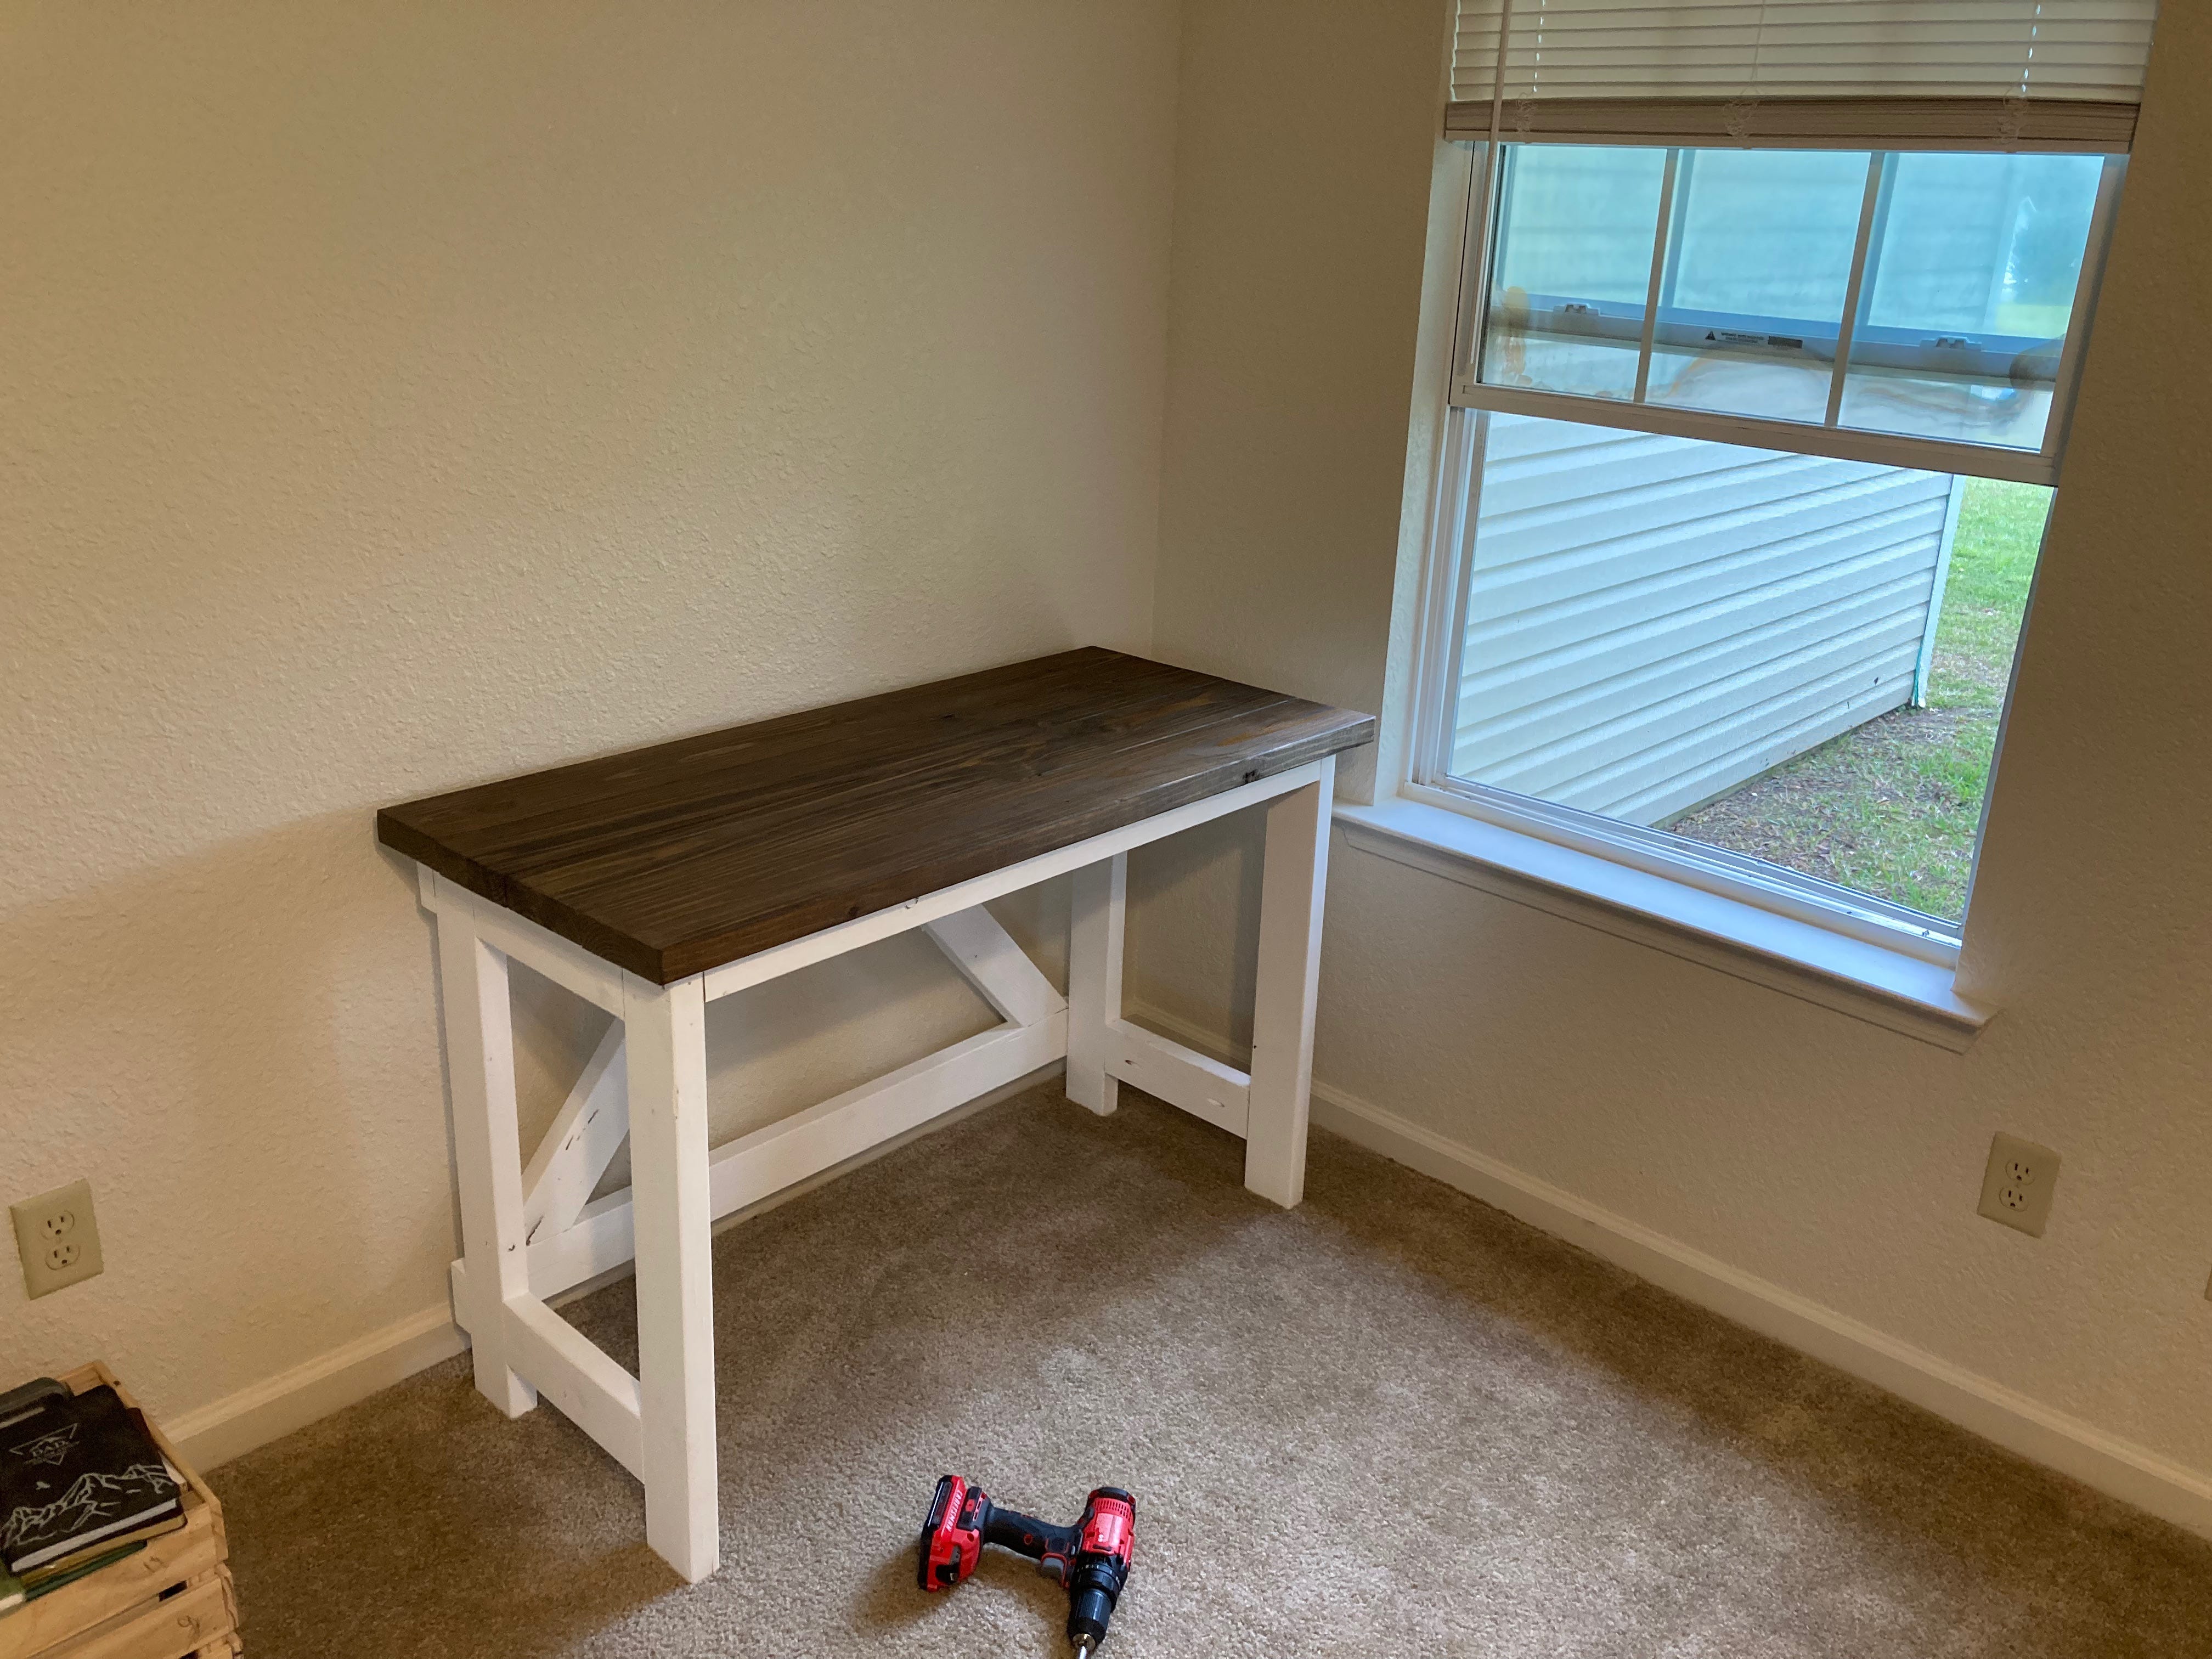
I set out with this project to create a desk that I could use for academic work. I knew I had roughly a year in Alabama and that it needed to last that long. As I’m writing this a year later and looking at the desk in front of me, I can say that the project was a success. But not a complete one.
I almost never used the desk. It was in my bedroom and I put my iMac on it along with a small bookshelf for whatever I was reading at the time. I ended up using a laptop for most of my school work and only used the desktop computer for paying the bills once a month. Other than that, the desk sat unoccupied and as a dumping ground while emptying pockets.
The desk is too tall for me. At 30in, the top is closer to chest level than I’d like when sitting on my chair. This could also be due to the chair, but even so the desk appear to be taller than necessary. On the upside, the bottom stretcher on the back makes a good footrest.
This will always be my first piece of furniture and I don’t hate it. The project was easy enough and fun enough to keep me coming back to making more furniture (and getting better). It did only take two days and it lasted a year so far. I plan to move it outside and list it on “curb alert,” a Facebook post that lets people know they can come grab it for free. I hope someone else will get more use out of it.
Lessons Learned:
Remove the round overs from dimensional lumber to create a more finished look and make it easier to work with
Joint boards used in a flat surface so they fit together
Use glue with pocket screws
Make my next desk a couple inches shorter
Clamps aren’t optional
I like natural wood over painted surfaces
To The Reader:
I hope you enjoyed this article and a glimpse into the life on an unskilled woodworker. I’m happy to answer any questions in the comments and I always appreciate a good critique. Cheers.
As an aside, when I teach the Jamestown portion of history to young students I explain that in the short run one of the most important industries in Jamestown was the brewing of table beer or small beer (generally less than 3% alcohol). Colonists needed this beverage and its low ABV content to help with the issues of potable water. If you look at the founding of English colonies in America their answer to the “what should we do first?” question was to brew beer and grow tobacco. That’s a bit different than the Puritan vision of founding that we used to get in school.
The * in the materials list indicates items that were partially used up in the process. This is both a good and a bad thing. I was glad to have stain, paint, and screws left over but I also found myself using them on other projects. Once again, I made style choices based on what I had on hand and not necessarily what I thought would look good or fit the style. Some of these projects I ended up not liking at all as soon as I stained or painted them.
Great work on the project! I can't wait to see how your skills progress with each new piece!